

“I love the saying by Ben Hogan, ‘Good golf begins with a good grip’ but we must know that a good grip for one person may not be a good grip for another.”
– David Leadbetter
“I love the saying by Ben Hogan, ‘Good golf begins with a good grip’, but we must know that a good grip for one person may not be a good grip for another,” says Leadbetter. The grip is one of the most challenging things to change in a golf swing because it is usually one of the first things we learn to do and the only way our body is connected to the club. “To me, it is one of the most important aspects of the game,” Leadbetter explains. “There are so many swing flaws and faults that can be traced back to the grip. The problem that we see with many players is gripping the club too far in the palm, which can create nearly a dozen faults just from that grip positioning alone. Gripping it in the palm is actually more of a putting grip.”
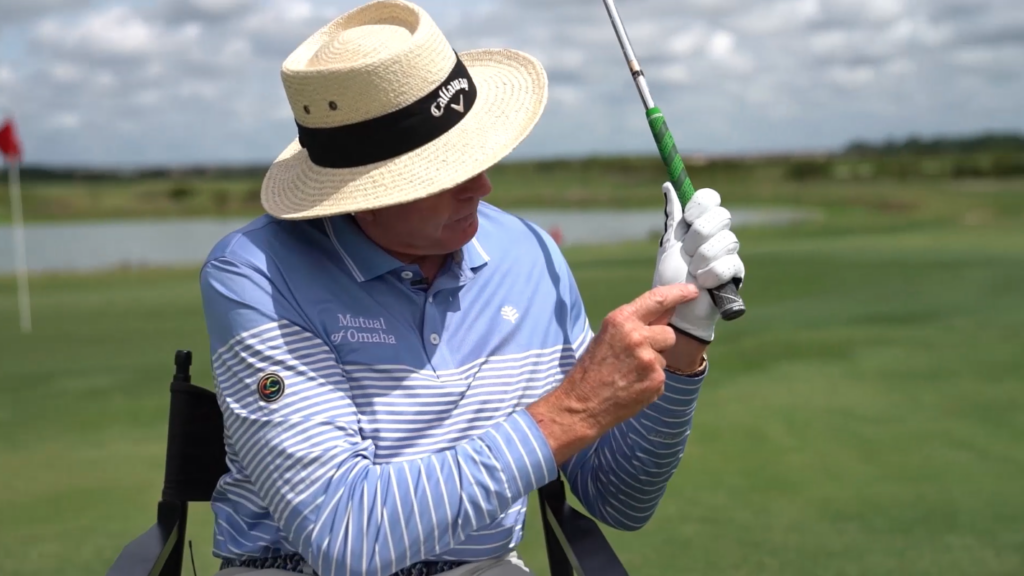
David Leadbetter is infamous for drawing lines on his student’s gloves in order to promote a better grip. “I always draw a line where they need to grip the club, which is more in the fingers on a bit of an angle. Then I put two dots on the first two knuckles, just a couple more indicators that they’re in a good position.” A tell-tale sign that you’re gripping the club too high is players who find a hole in the meaty part of their palm. If you’re gripping it correctly, this shouldn’t happen. Which will save you a lot of money in gloves!
“You really want to feel it in the last two or three fingers of the hand. Golf is so much about rhythm and flow, tempo and timing. A palmy grip creates tension. Tension doesn’t allow the hands and club to swing with any freedom. I always explain it to children like an elephant swinging its trunk.”
Tip #1: Create a Routine
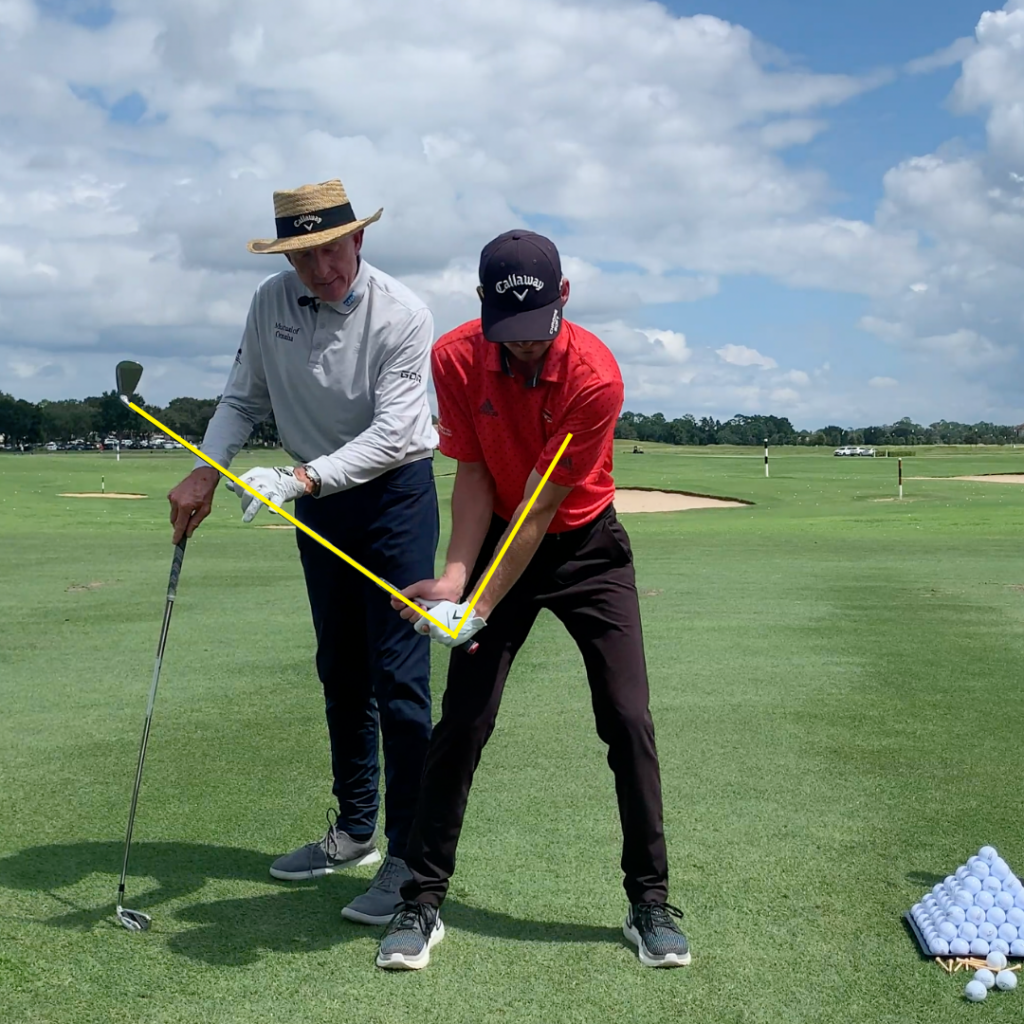
Begin by taking your grip slightly behind you. “Always take the grip when the club is settled on the ground in a square position. Taking the grip behind will naturally position the club in your fingers. Once you have your left hand on the club (for right-handed players), bring the club forward to address and join in with your right hand,” explains Leadbetter. “When at the address position you should be able to see your first two knuckles on your left hand when looking straight down.”
Once you have reached your address position, try not to adjust your grip. Simply taking practice swings or holding a Short Club around the house will help you get comfortable with the grip change and will begin to help form a new habit through muscle memory. Adjusting your grip after setup will delay this process. You should feel less stress in the hands and have the ability to easily hinge the club up and down.

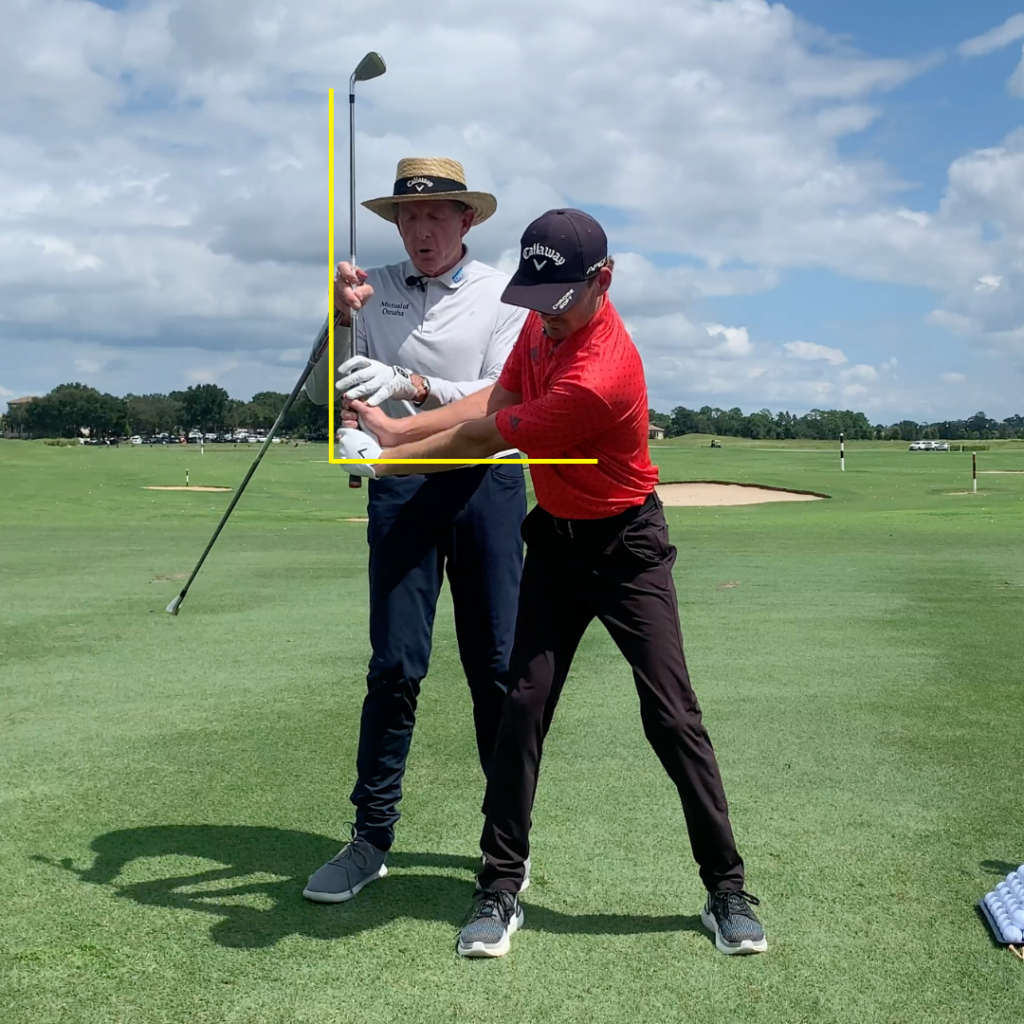
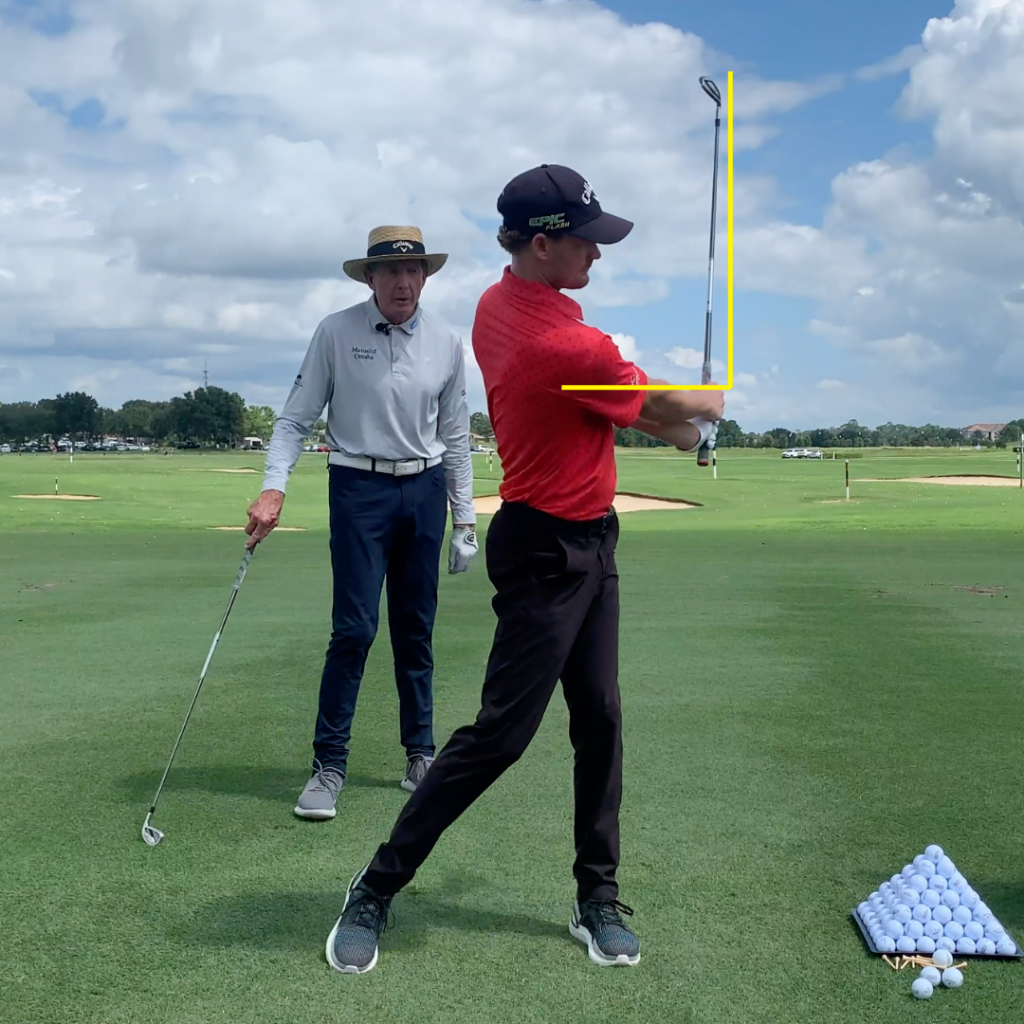
Tip #2: “L to L” DRILL
The “L to L” Drill is a great drill to confirm that your grip is in a good position. If you set the club, you should be creating an L position. This is a halfway back and halfway through motion that should almost be a mirror image of each other. This is all possible through a good grip and the ability to hinge the club more freely. If you’ve been gripping the club too far into the palm, you’ll likely experience the ball traveling nearly as far as your full swing.
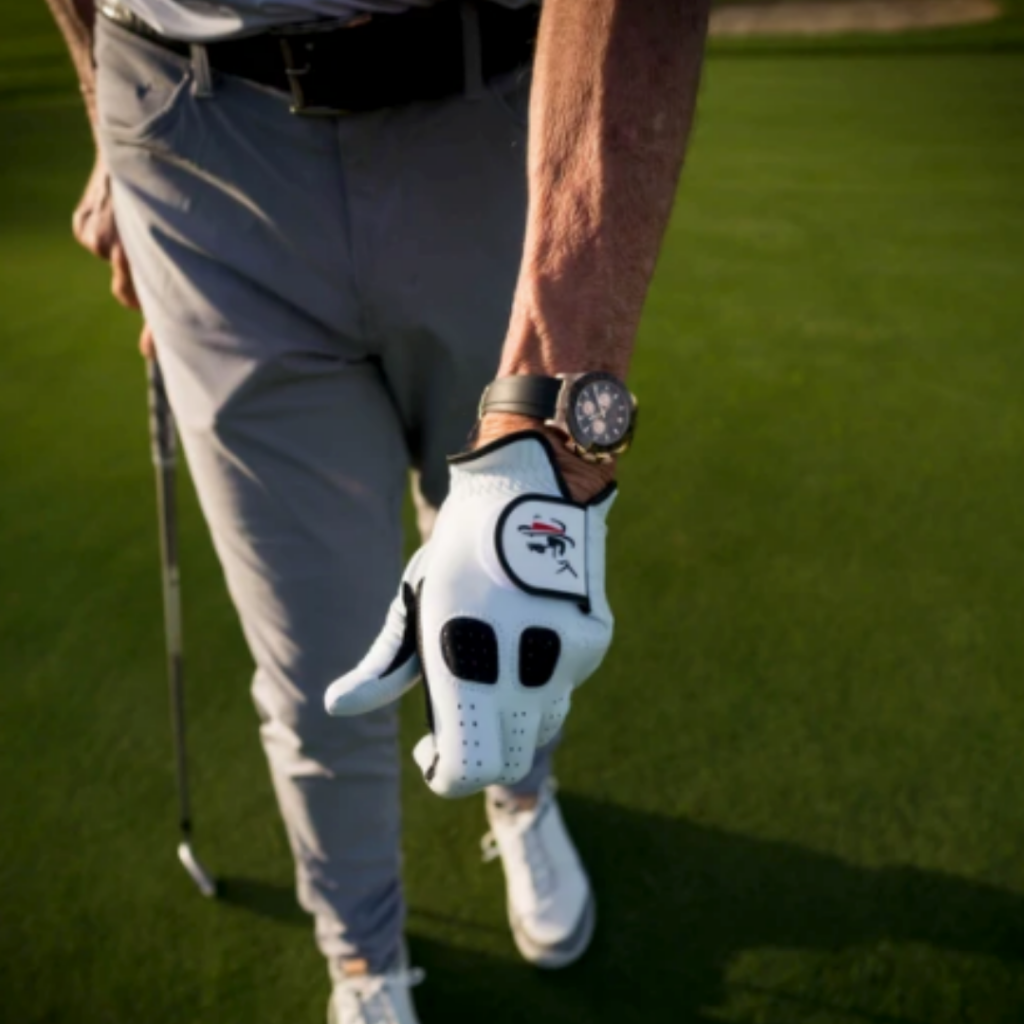
Tip #3: Try the Leadbetter Glove
The Leadbetter Glove was created for players of all levels and abilities to help aid golfers with the proper grip. The glove mimics the hand-drawn lines that David Leadbetter draws on his student’s gloves, with a few helpful additions. There is a Palm Alignment, showing the correct position of the club on the palm (left) and then there are two knuckle indicators on the opposite side (right) which when gripped correctly, the golfer will see at address. In addition, there is also a V Patch indicator between the thumb and index finger that should point to the right-hand shoulder (for right-handed golfers). The glove is even approved for play by the USGA, so you can always play knowing you’re in a good position.

To shop the Leadbetter Glove, click here.